PARTS LIST
CAUTION: SHARP EDGES
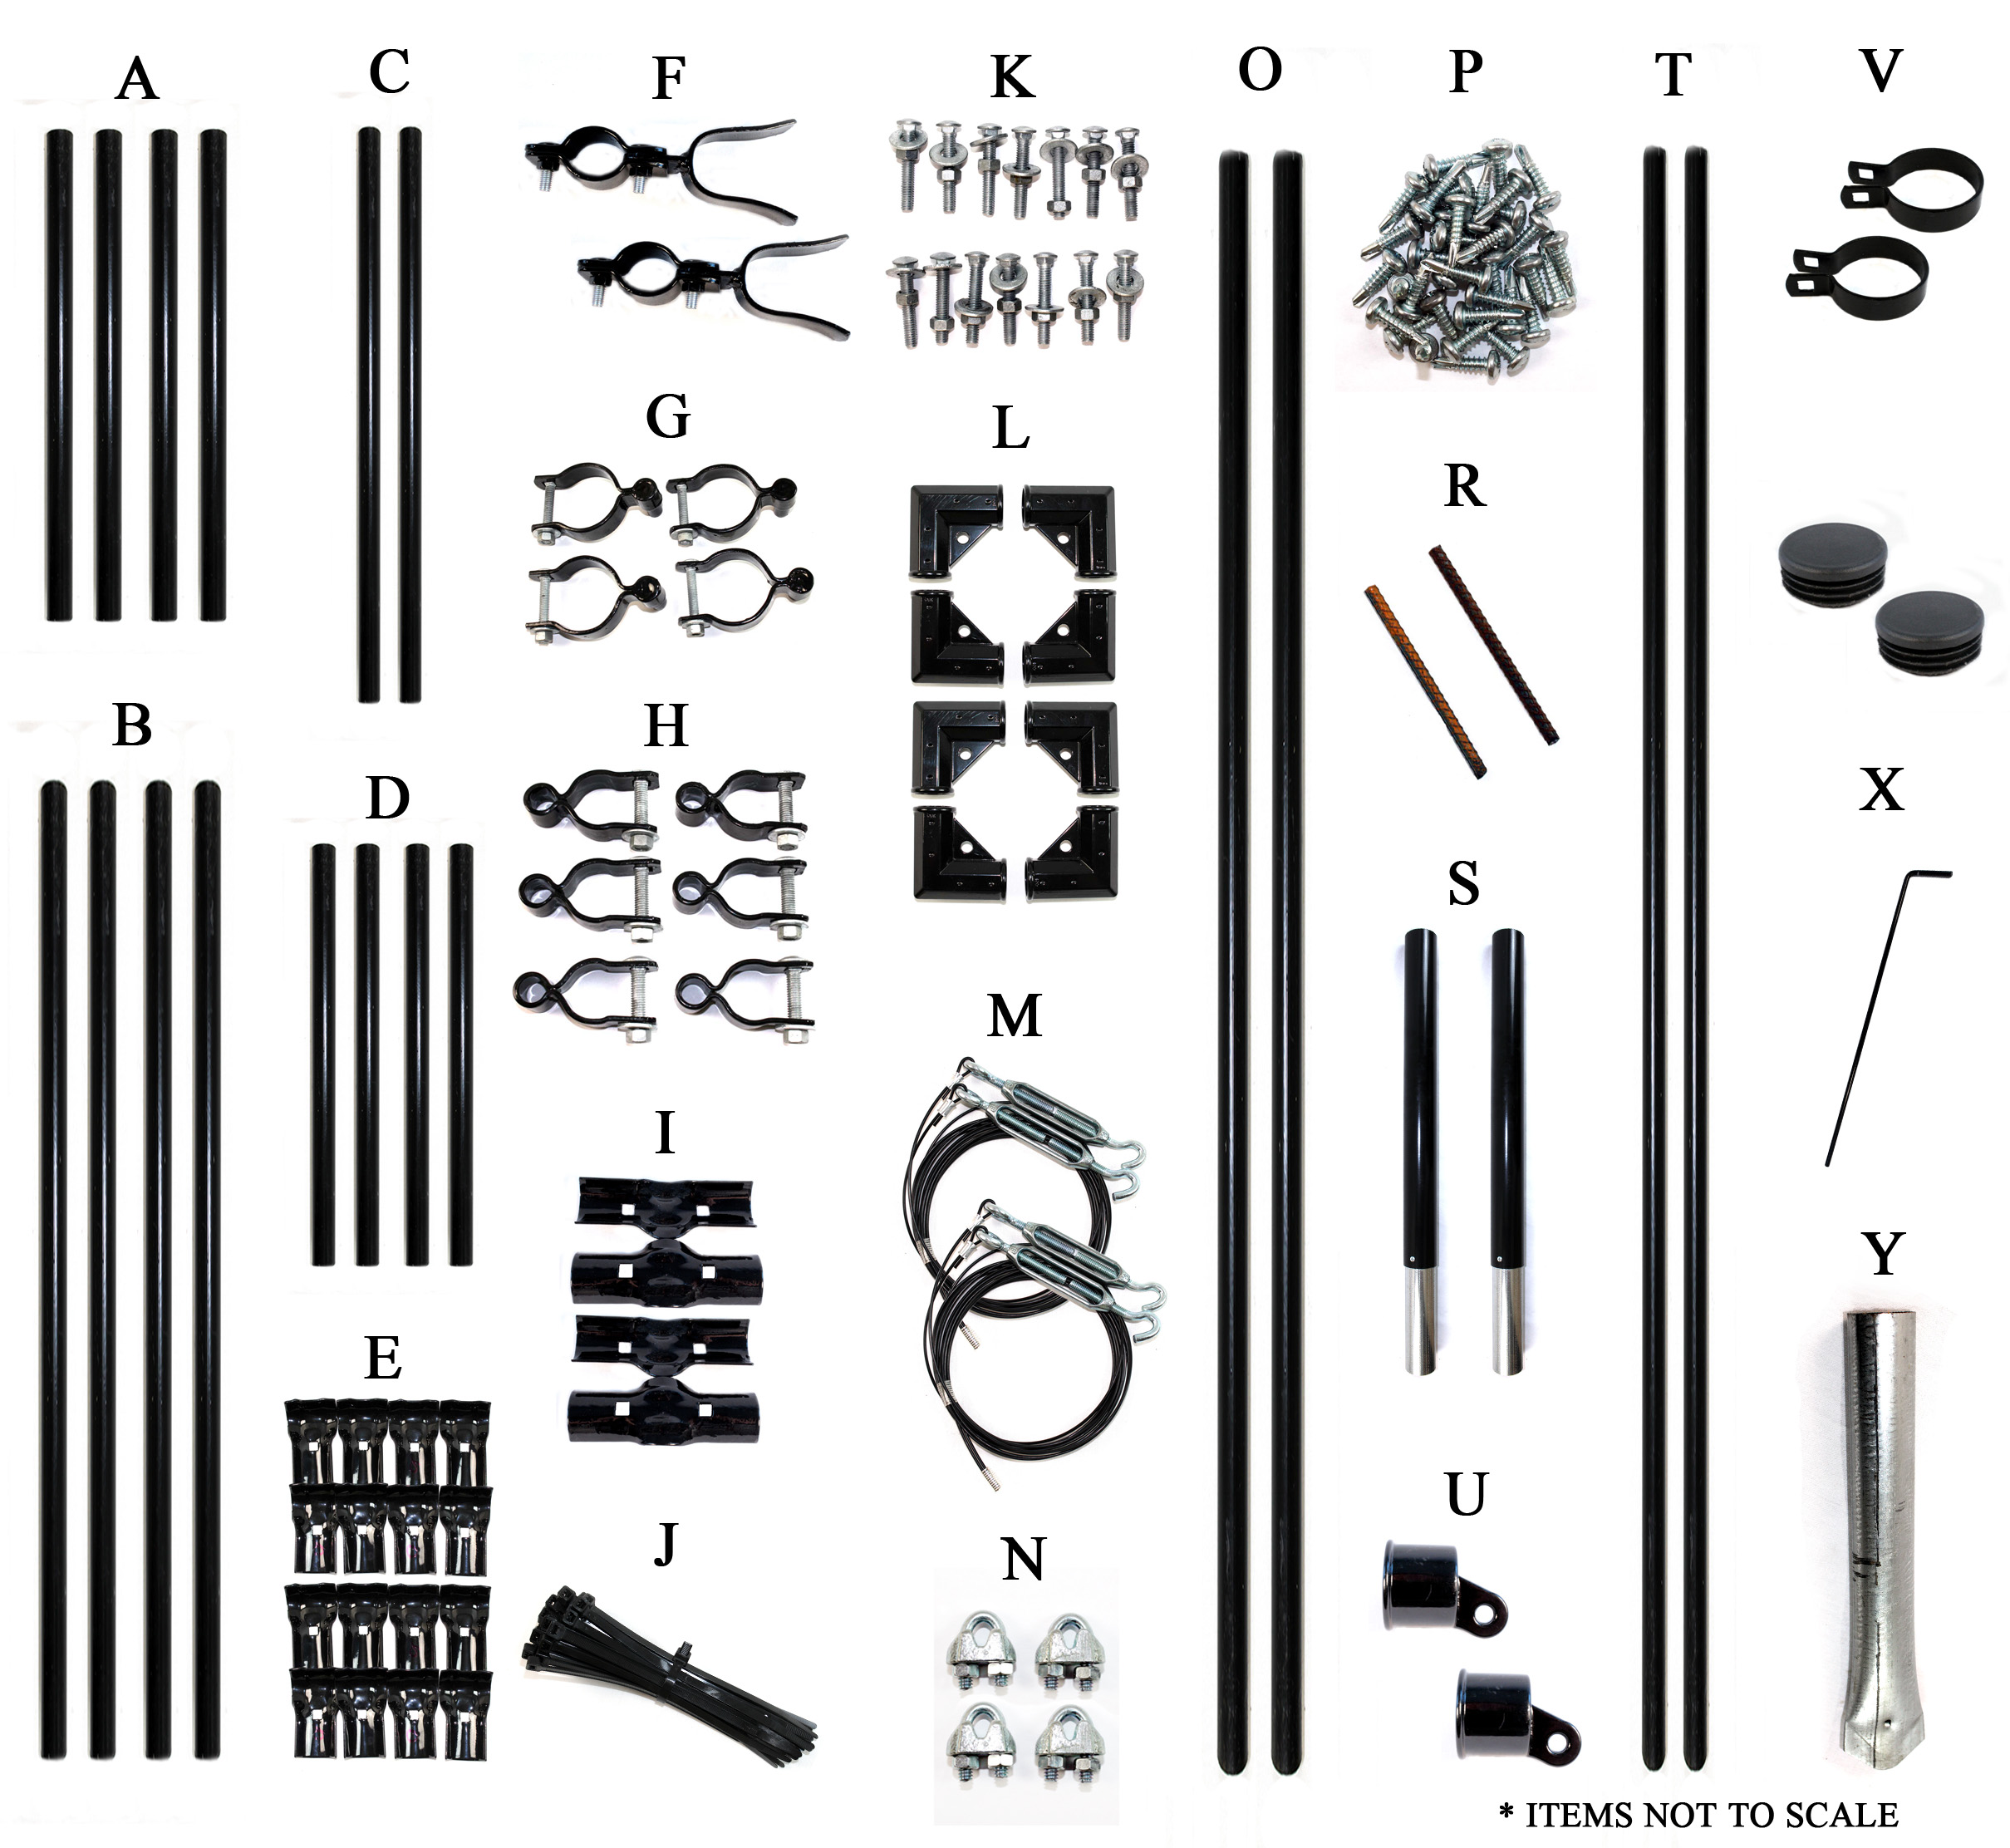
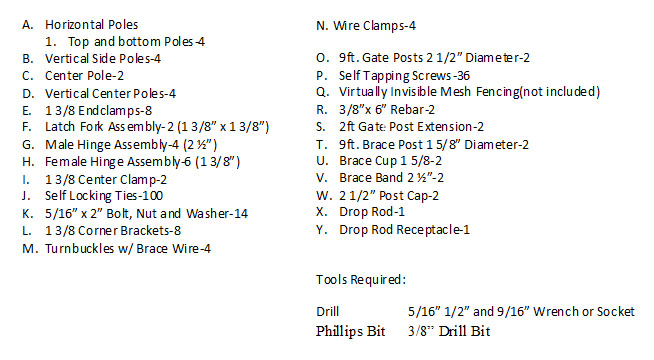
GATE ASSEMBLY
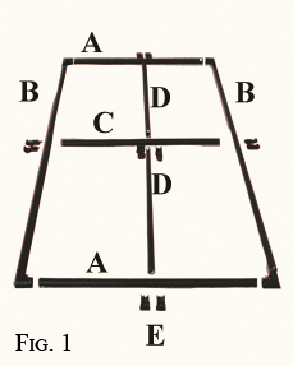
Step 1: Dry fit your gate starting with your vertical sides and Horizontal top/bottom. Connect the outside pieces together by hand using the corner braces. As shown in figure 1.
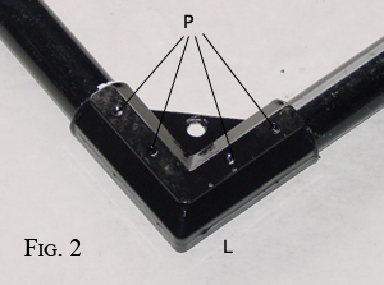
Step 2: Attach one horizontal pole (part A) and one vertical pole (Part B)using the corner bracket. Secure each corner bracket (Part L) with 4 self tapping screws (Part P) using the dimples holes as a guide.
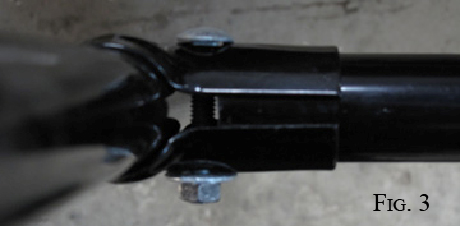
Step 3: Measure to locate the center of the vertical sides of the gate and mark it. Place the end support clamps (part E) at the mark and attach horizontal center support bar to the vertical sides securing with 5/16” x 2” bolt (part K) as shown in figure 3.
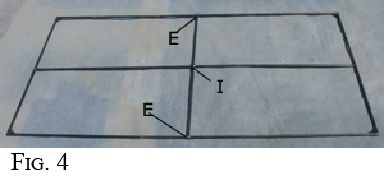
Step 4: Measure and find the center of the horizontal sides of the gate and mark it. Using the end support clamps (Part E) attach center vertical poles at mark securing with the 5/16” x 2” bolts. Next, using the bolts, attach the center support clamp (Part I) in the middle as shown in figure 4.
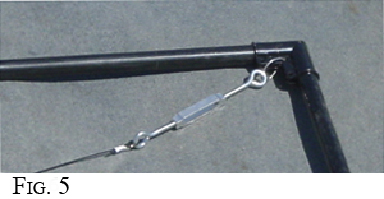
Step 5: Hook the Turnbuckles (Part M), through the center holes of the corner brackets and extend turnbuckles completely as shown in figure 5.
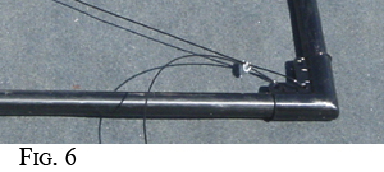
Step 6: Feed the tension wire through a wire clamp, and then loop the wire through the corner bracket on the opposite side on the bottom. Feed the wire through the wire clamp again. Take slack out of the wire and tighten wire clamp (Part N) securely. Repeat on other side.
Step 7: Evenly tighten turnbuckles making sure gate is square by measuring diagonally and adjusting so they are equal measurements. Trim excess wire, your gate should resemble Figure 7.
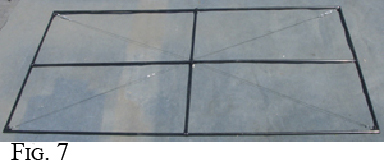
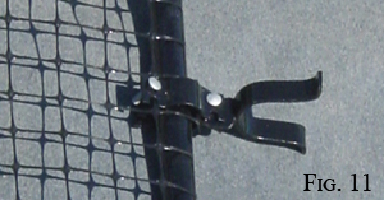
Step 8: Turn gate over so that hardware and tension wires are on the bottom side. Attach Deer Fence (not included); to your gate frame using self-locking ties (part J) approximately every 6-8 inches as shown in figure 8. Use a tie puller and cutter tool to tighten the ties and trim the excess plastic. It is easiest to attach ties to the left and right, pulling the fence tight, before attaching the ties on the top and bottom.
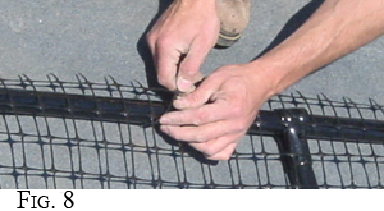
Step 9: On one side of your gate, measure 18 inches from the top and 18 inches from the bottom, marking both measurements. Attach one female hinge (Part H) at each make using the nuts and bolts provided.
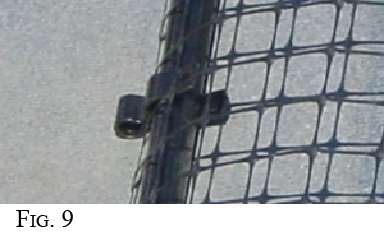
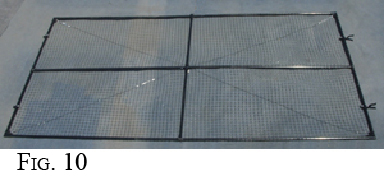
Step 10: On the opposite side of your gate from the female hinges, assemble and attach gate latches, making sure latches are 18 inches from the top and bottom. Attach, using the nuts and bolts provided, with the pad lock hole on the latch at the bottom of the latch. Your gate is now ready to hang. Your finished gate should resemble Figure 10.
Step 11: Repeat steps 1-9 for the second leaf of the driveway gate.
INSTALLING THE GATE POSTS
Step 12: Place the 2’ extension (part S) w/post cap (part W) on top of 9’ post by sliding silver end inside top of 9’ post. Secure w/ 2 self-tapping screws near the top of the 9’ post.
Step 13: Measure and drill 3/8” hole 6 inches up from the bottom of the 9’ gate post. Drive rebar (part R) through the hole of the 9’ gate post (part O). Mark position of gate and dig a 36” approximate deep hole and insert gate post. Secure post in place with cement. The rebar and cement help keep the gatepost from spinning when gate is opened.
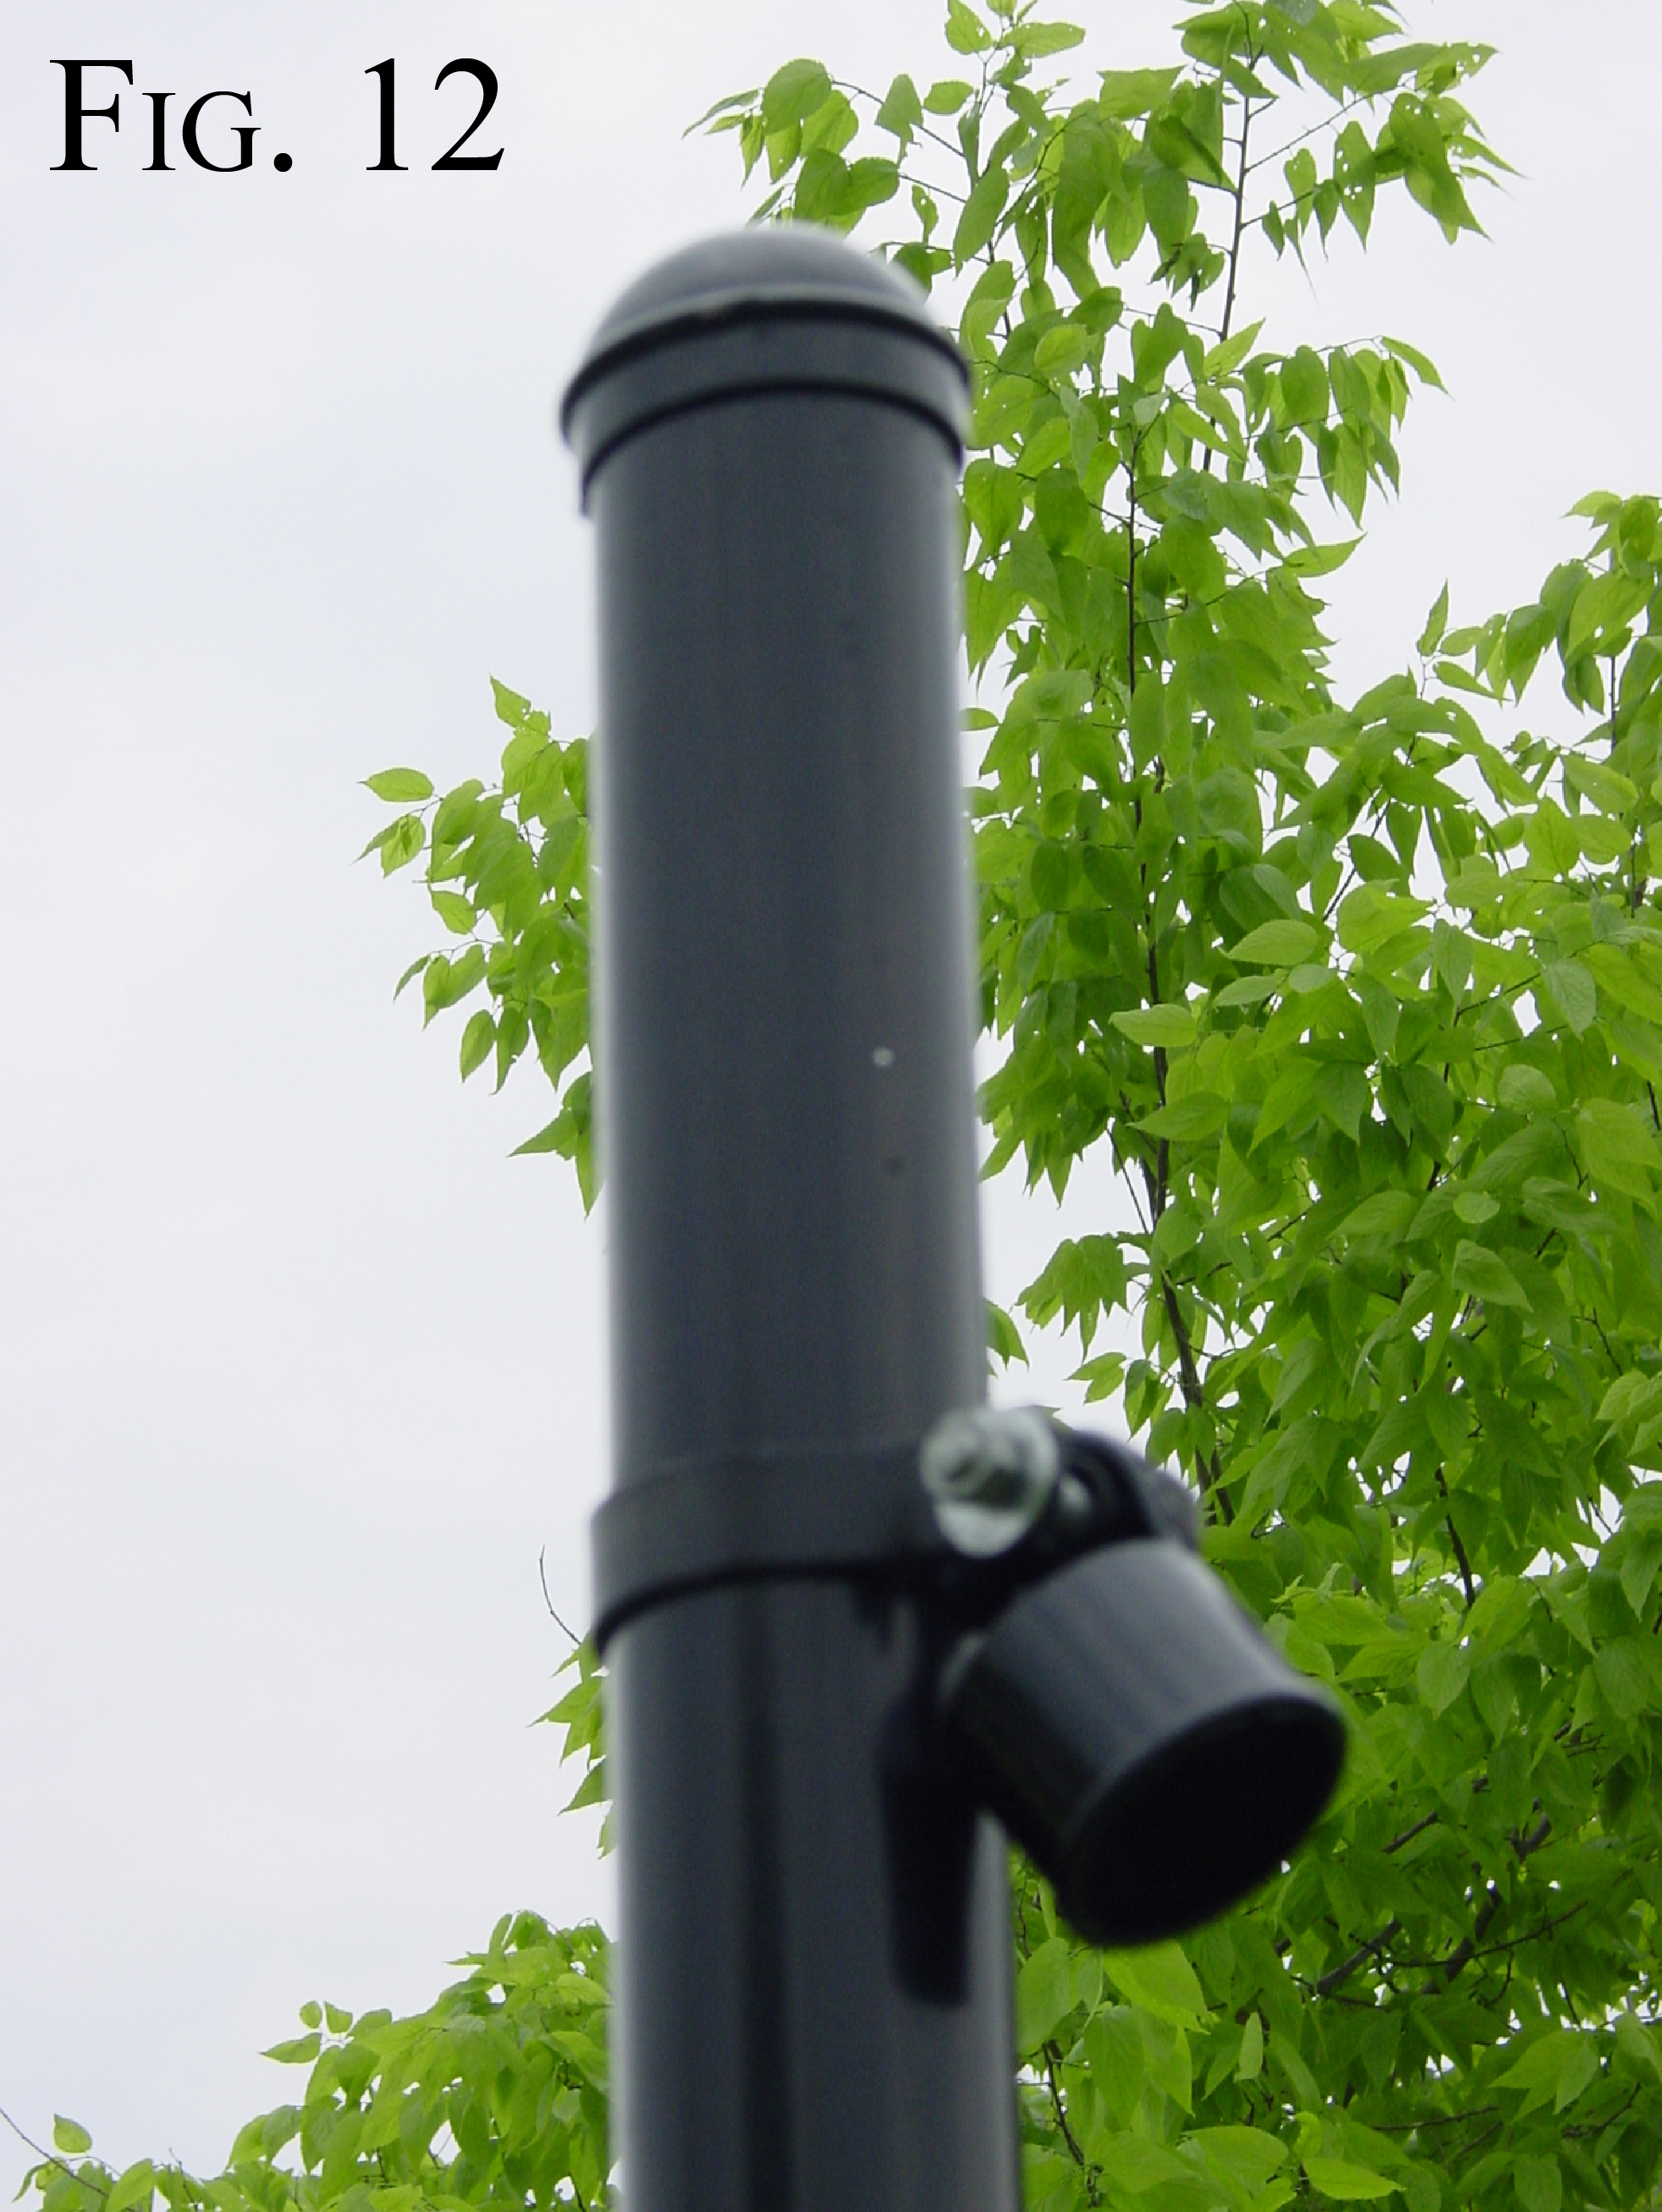
Step 14: A brace post (part B) is used to further secure your gate. First you need to place the brace band (part V) and cup (part U) over the 2’ corner post extension (part S). Measure and mark 12” from the top of the end post. Slip the brace band over the post and onto the 12” mark. Placing the cup into the band position the cup so that the brace post will be just inside the fence line. Using the nuts, bolts and washers provided to hold the brace band and cup in position. (Do not fully tighten) After you have installed the first brace cup install the second directly on top at a 90 degree angle to the first brace cup.
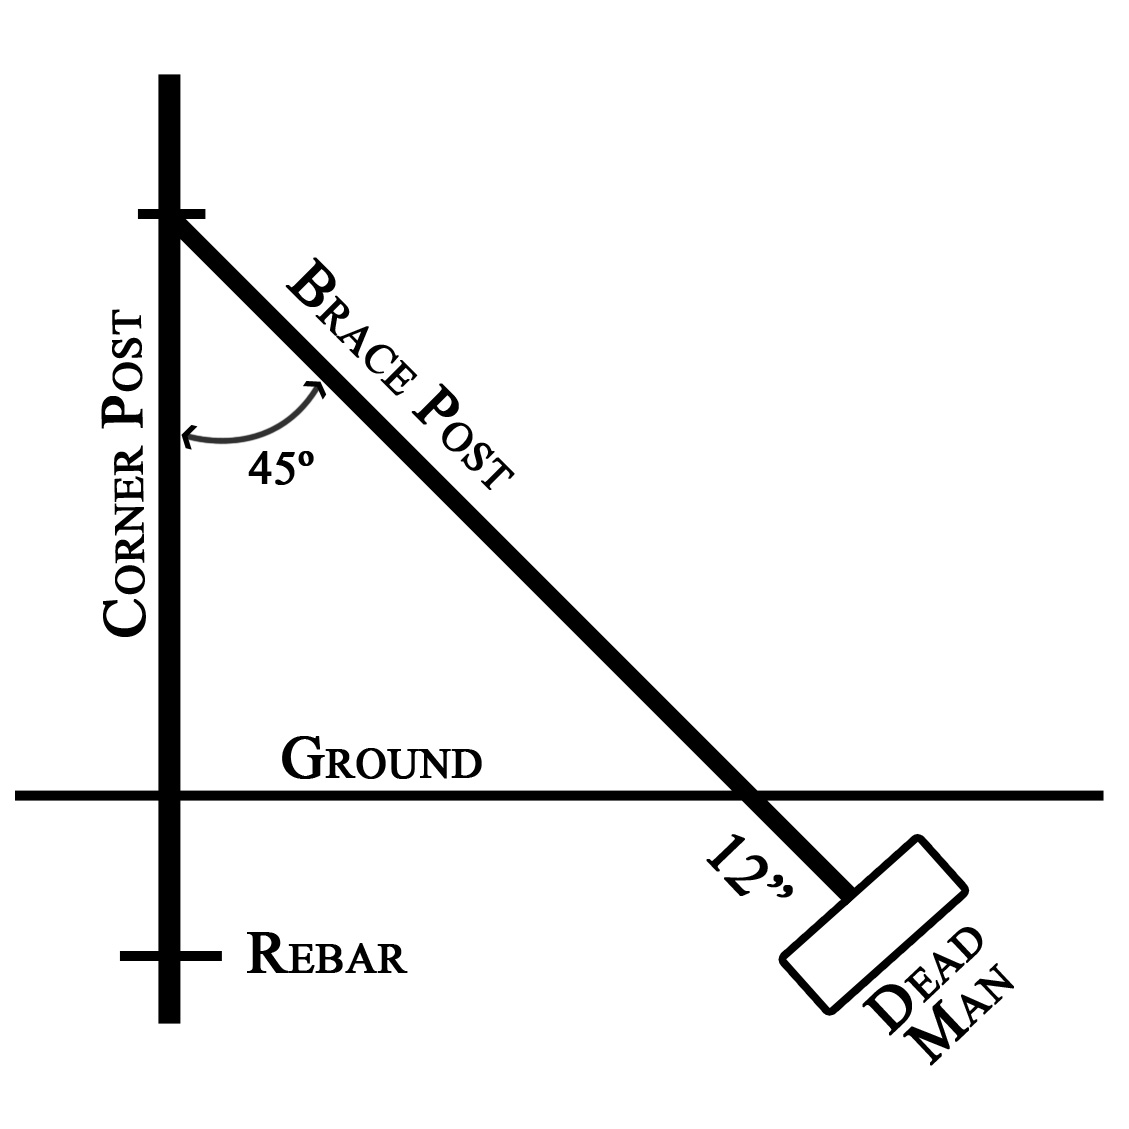
Step 15: After your brace cups are installed, you will want to determine where to dig your holes to secure your brace posts. Place your brace post (part T) in the brace cup (part U) at a 45 degree angle to the corner post and just inside the fence line. At the point where the post meets the ground you will want to dig a hole approx. 1 foot deep. You can either cement the post in place or you can use a dead man. (Dead Man- A 4x4, solid cinder block, or a large rock placed perpendicular to the brace post end in the ground.)
Step 16: Attach male part of hinges (part G) loosely to gate post, stand up your gate matching hinges together. Adjust to proper height, making sure the male hinge is attached to the 9’ post and not the 2’ extension, and tighten male hinges securing tightly. Place gate on blocks about 6” high then tighten hinges to secure the gate.
Step 17: Repeat Steps 13-16 to assemble the second gate leaf supports.
INSTALLING DROP ROD RECEPTACLE
Step 18: Attach the 1 3/8” Female Hinges (part H) to the gate door without the latches (part F). Be sure to attach both hinges to the same side of the gate. Attach one hinge at the bottom and another approximately 1’ from the bottom of the gate.
Step 19: Using a drive cap, drive the drop rod receptacle (part Y) into the ground beneath the hinges. This receptacle will lock the fence in place when the ground rod is inserted. Insert ground rod down through the hinges into the receptacle to lock the fence in place.
